
Packaging Measurement Guide
How to measure a product and box for custom packaging
Record the real product at its widest points, label the dimension order, state whether box dimensions are internal or external, and confirm clearance with a structural sample.
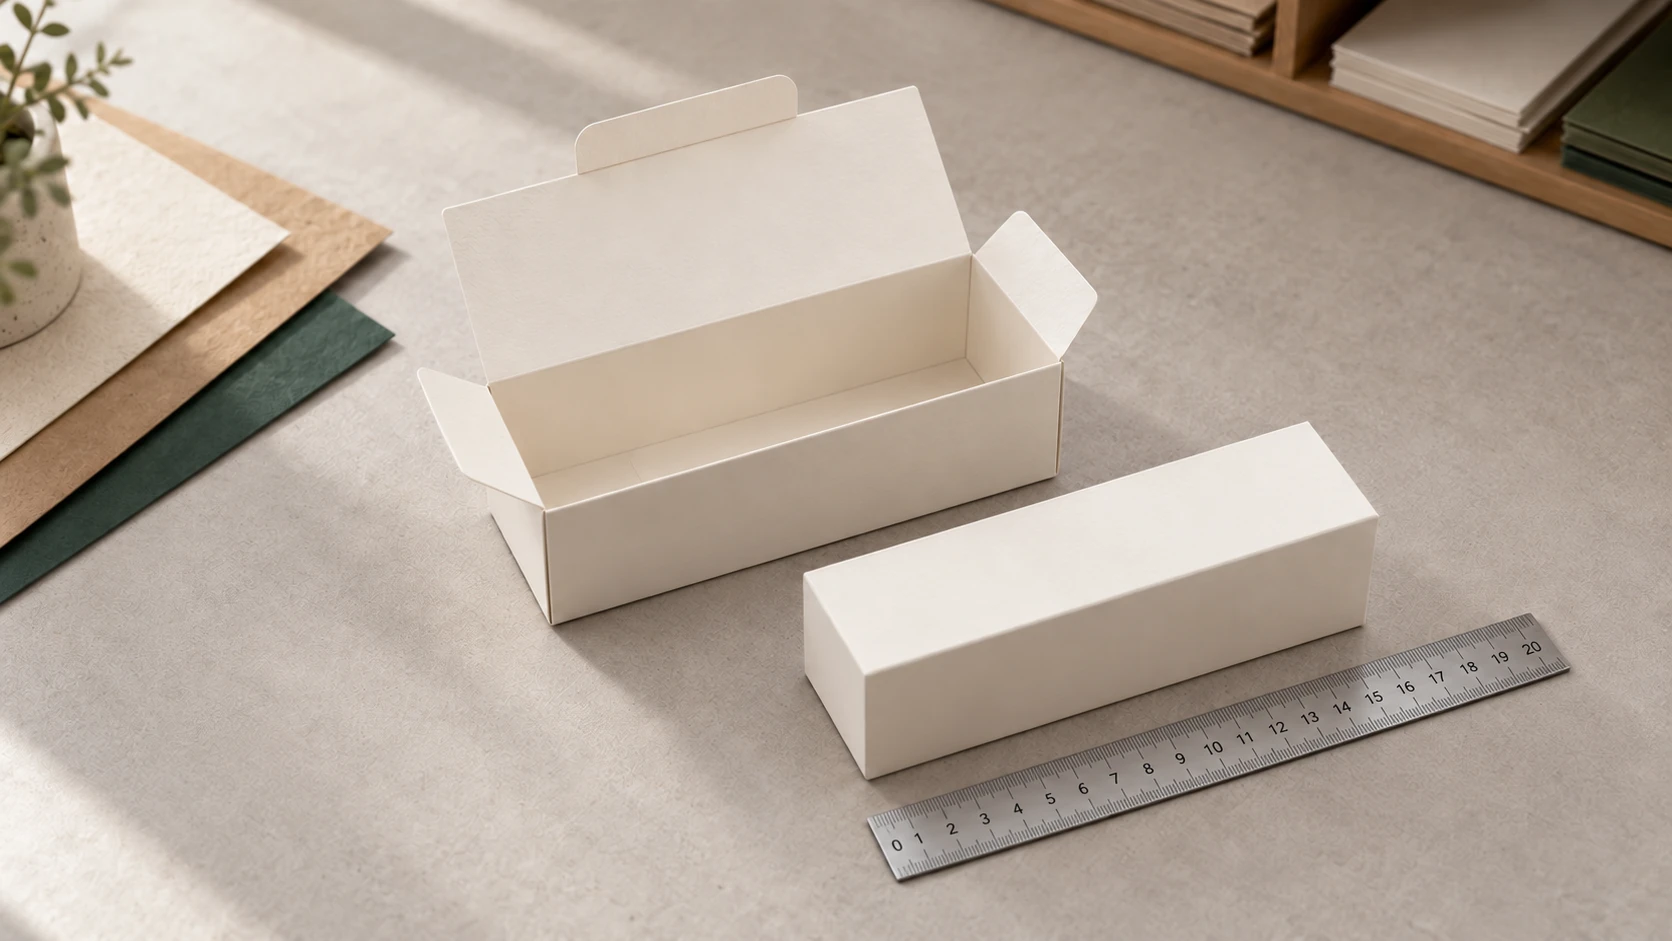
Illustrative packaging concept.
Start with the actual packed product
Use the final product when possible. A prototype may omit a cap, cable, manual, protective bag, accessory, or production tolerance. Measure maximum length, width, and height, then record weight, intended orientation, flexible or protruding parts, surfaces that scratch, areas that cannot carry pressure, and every item packed with the product.
Mark the dimension order
Length × width × height can be interpreted differently across structures. Show all three dimensions on a sketch and mark the intended opening direction.
Label internal or external
Internal dimensions describe usable space. External dimensions describe the finished outside size. Board thickness, liners, folds, and construction create the difference.
Include every packed item
Count inserts, trays, bags, wraps, manuals, cables, samples, closures, and accessories. State their positions and which parts may move.
Show vulnerable areas
Photograph edges, caps, pumps, corners, surfaces, leakage points, or flexible parts that need clearance, restraint, or protection.
See the three size references
Use a marked sketch to show which measurements describe the product, the usable space inside the box, and the finished outside of the box.
Top view · length and width
Side view · height
A measurement sequence
Orient
Place the product in the intended packing and opening orientation.
Measure
Record maximum dimensions, weight, protrusions, accessories, and protective layers.
Sketch
Label length, width, height, opening, closure, insert, and internal or external basis.
Sample
Confirm fit, assembly, removal, restraint, and realistic packing conditions with the physical product.
Clearance is a design decision
A package that matches the product dimensions exactly may be impossible to pack. Clearance depends on board thickness, folded edges, product variation, insert thickness, protective wraps, manual access, automated equipment, removal experience, and expected movement during handling. Avoid applying one universal allowance. Record the chosen basis and approve it through the relevant structural sample.
When an existing box is the reference
- Photograph it closed, open, and with the product in place.
- State whether measured dimensions are internal or external.
- Mark opening, closure, glue, and insert direction.
- Record material type, thickness direction, and surface.
- Identify current problems such as difficult assembly, excess movement, damage, or wasted space.
- Provide the physical sample or dieline when photographs cannot explain the structure.
Frequently asked questions
Should I send product size or box size?
Send both when available. Product dimensions support structural review; approved internal and external box dimensions remove ambiguity from production and freight planning.
Which side is length?
The convention can vary by structure. A marked sketch is safer than three unlabeled numbers.
Can I calculate clearance without a sample?
A preliminary allowance can guide a concept, but fit, packing access, removal, and movement should be confirmed with the actual product and structure.
Why are external dimensions needed?
They support master-carton planning, storage, pallet use, and dimensional freight in addition to confirming the finished outside size.