Packaging Artwork Checklist
Prepare packaging artwork on the approved dieline.
Keep structural lines controlled, use the current revision, extend backgrounds to the specified bleed, protect critical content with safe areas, and package colors, images, fonts, finishes, and references clearly.
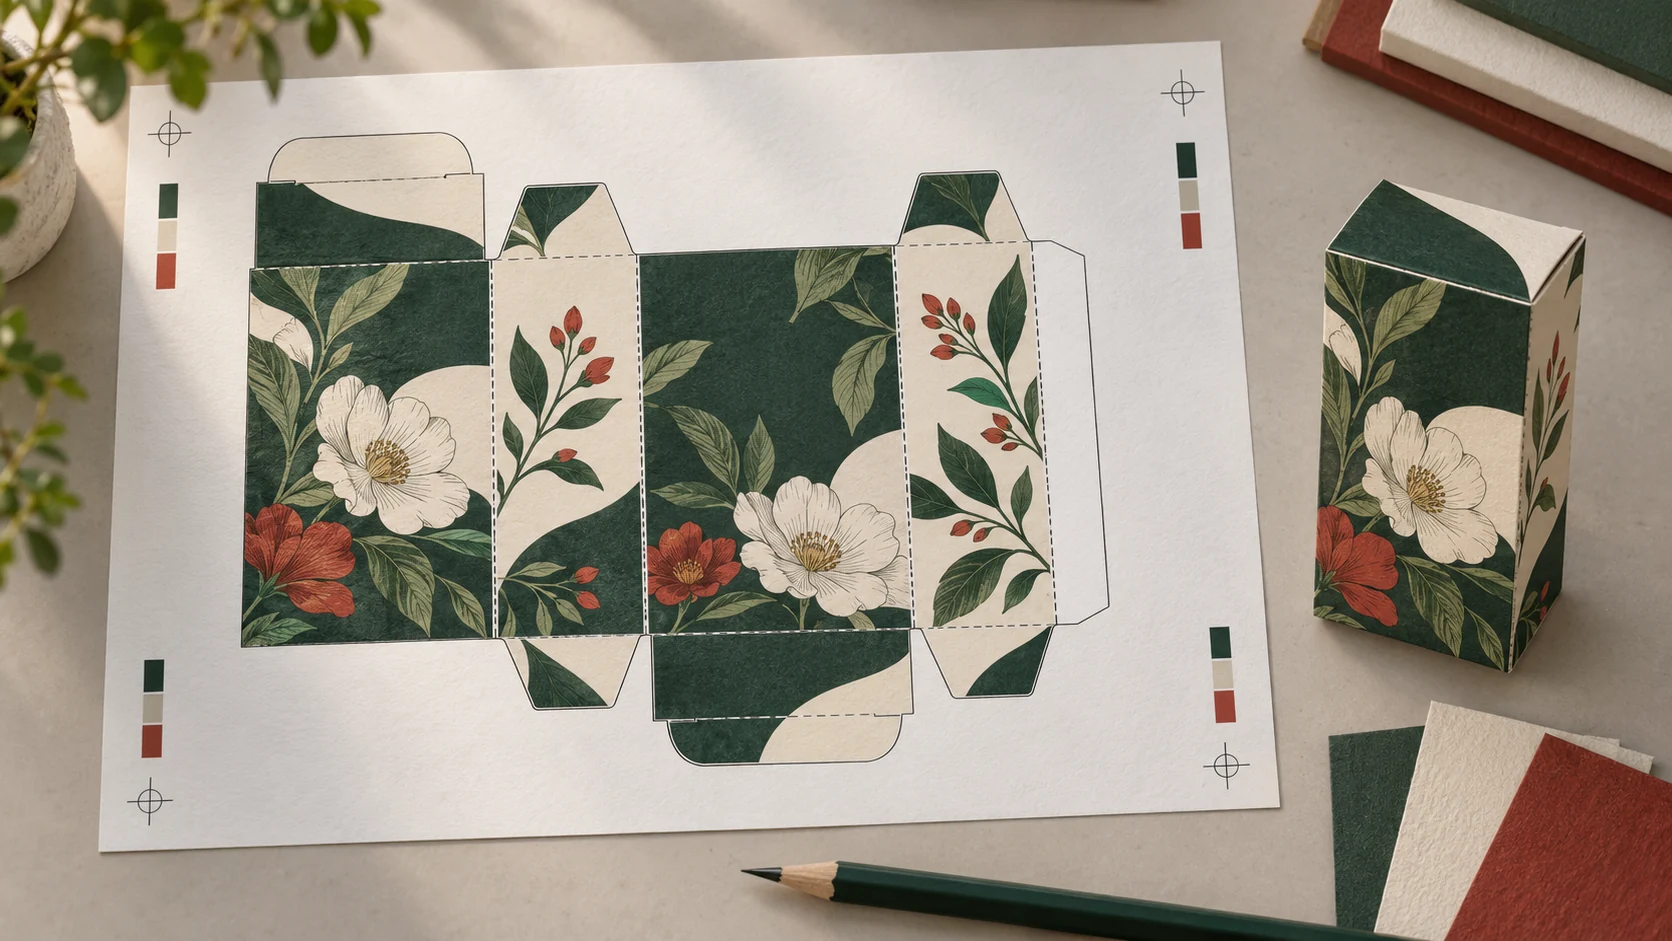
Illustrative packaging concept.
Download the artwork review worksheet
Keep one record of the artwork revision, supplier-confirmed settings, proof references, open questions and release decision. Fill it in a PDF reader or print it for your project team. Production settings must come from the agreed project specification.
2 pages · Fillable PDF · 29 KB · Version 1.0, September 2026. Save a local copy before filling it in.
What a packaging dieline controls
A dieline is the flat technical drawing used to cut, crease, glue, and assemble a package. It can show cut lines, folds, glue areas, bleed, safe areas, panel names, orientation, perforations, windows, holes, or special cuts. Keep artwork on separate layers and do not move structural lines without review.
Revision
Use one current structure and artwork revision. Confirm dimensions, opening direction, print side, glue area, insert revision, and approval date before release.
Bleed and safe area
Extend backgrounds beyond cut lines using the supplied specification. Keep logos, text, barcodes, and critical details away from cuts, folds, glue areas, and wrapped edges unless reviewed.
Color
Identify process and spot colors consistently. A screen is not a physical print standard; material, coating, process, lighting, and proof method affect appearance.
Special finishes
Put foil, white ink, embossing, debossing, coating, windows, and other operations on clearly named layers with marked locations and references.
Read the zones on a dieline
This conceptual panel shows why background artwork extends outward while text and other critical content stay inward. The approved dieline defines the actual cut, fold, glue, bleed, and safe-area positions for the chosen structure.
Product name / logo / barcode
Artwork submission package
- Editable source artwork and a print-ready PDF.
- The approved dieline with structure and size revision.
- Embedded or packaged linked images at suitable effective resolution.
- Outlined fonts or legally usable font files as agreed.
- Named process and spot colors with physical references where color is critical.
- Separate finish layers and a visual reference for intended appearance.
- One low-resolution mockup showing panel orientation and opening direction.
- Revision notes and one named contact for artwork questions.
Avoid several files called “final.” Identify one approval package by product, structure revision, artwork revision, and date.
Preflight before approval
Structure
Dimensions, dieline revision, panel orientation, opening, print side, glue, insert, and finish feasibility.
Content
Product names, claims, symbols, translations, legal copy, instructions, SKU, and barcode mapping.
Production
Bleed, safe area, linked images, fonts, vector elements, colors, overprint, transparency, and finish layers.
Approval
Named revision, proof purpose, physical references, unresolved items, owner, date, and release decision.
Barcodes, QR codes, and required text
Confirm size, contrast, quiet zones, orientation, and final printed readability. Texture, foil, folds, low contrast, or distortion can reduce scanning. The buyer remains responsible for product claims, regulatory text, symbols, translations, and market requirements; print approval does not replace legal or regulatory review.
For labels and paper inserts, keep the approved text, barcode, language, and product variant tied to the correct artwork version. Check physical application or fit separately from an on-screen proof.
What each approval can show
Frequently asked questions
Can final artwork start before structure approval?
Concepts can begin, but final panel artwork should use the approved dieline because structure changes can move panels, folds, glue areas, and safe zones.
Is a PDF enough?
Some workflows accept a print-ready PDF, while editable artwork, linked assets, and font information may still be needed for prepress checks. Follow the agreed specification.
Why can print differ from a screen?
Screens emit light; print reflects light. Material color, coating, ink, process, and viewing conditions also change appearance.
Can text cross a fold?
Folds can distort, crack, or reduce readability. Keep critical content away unless structure and production teams approve the placement.